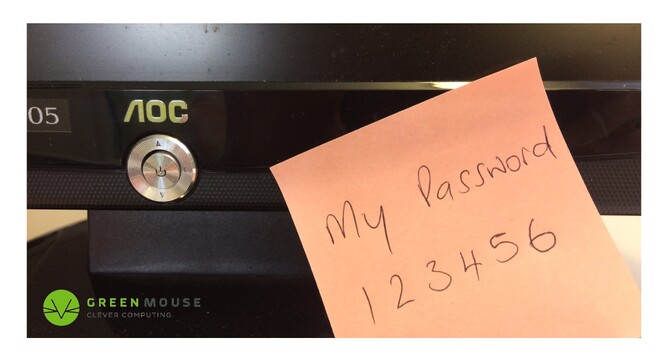
Are you on top of your passwords?
Imagine your computer suddenly dies, or your laptop and phone and tablet all get stolen from your car - will you be able to get back into your various accounts?
As companies strive to improve their (and your) security, passwords are becoming ever more important but also, more numerous and more difficult to recover. It seems like every company wants you to have your own account with a password, and they all have their own requirements: capital letters, unusual characters, and numbers may all be required. You'd be forgiven for using minor variations of the same password for everything, but this is inherently risky as well. If a scammer manages to get hold of your password for Facebook and it's the same as all your other passwords, you have a serious security breach. In this scenario you'd have to change all of your passwords, which is just a massive pain in the proverbial.
Passwords are now one of the biggest problems we run into when trying to sort out computer issues for clients. We only keep track of the passwords used by companies when we set up and manage their Microsoft 365 accounts, but other than that, we don't know what our clients' passwords are. We can sometimes retrieve them, but this is becoming more and more difficult as companies intensify their security. The point of a password is that others should not be able to guess it or find it on your computer, and that includes your friendly neighbourhood computer technician.
The problem is that password management has become overwhelming for some, and too labourious for others. So I have some suggestions for how to effectively and accurately manage your passwords without too much drama.
Password Management for Busy People
What I'm going to propose is a system which will take a little while to set up and then can be managed in an ongoing way with very little effort:
- Identify every account for which you have a password.
- Categorise your passwords as high or low risk according to the following criteria:
High Risk: Accounts involving access to your money, accounts which would provide access to your personal details, accounts which you know have been subject to data breaches (Facebook for example), accounts which would provide access to other passwords.
- Make sure that any high risk passwords are high quality (not shared by other accounts, not anything related to your personal details, unguessable). Your internet banking password should not even be written down - it's better to have to contact your bank than compromise on security for that one.
- Make sure that you have multi-factor authentication or 2-step verification set up for your email address for extra security. And set up account recovery because it's not at all easy or convenient to directly contact Microsoft or Google etc.
- Take a look at the passwords you have saved in your internet browser and delete any that are high risk. Then make sure to select 'do not save' for those ones when asked in future.*
- Write down or record all low risk passwords in the same place.
- Any time you set up a new low risk password, record it immediately. Don't make the mistake of thinking you'll remember it.
Password Selection Tips
- Avoid words or numbers relating to your personal or family details such as names or birth dates
- Do not sticky-note your password to your computer
- Avoid consecutive numbers or keys on the keyboard
- Do not use the word password or any variation of that
- Avoid pop-culture references, especially for things you clearly like or support on social media
- Imagine you're a scammer who has done a bit of research about you online. Your passwords, especially high-risk passwords, should be spouse-level unguessable
*How to check which passwords are saved in your internet browser
Google Chrome
Click on the ellipsis (3 dots under the close x). Select Settings. Click on Autofill in the left-hand menu. Look at the lists - Saved and Never Saved. Click on the eye symbol to see the actual passwords. Click on the ellipsis on the right beside the eye symbol to remove it from the list.
Microsoft Edge
Click on the Edge ellipsis (same spot, 3 horizontal dots). Click on Settings, then Passwords. Check the Saved and Never Saved lists. Click on the eye symbol to see a password, and ellipsis to edit or delete it.
